
Introduction
Visual collaboration tools have become essential for enhancing online meetings and discussions. The combination of Excalidraw, a powerful collaborative whiteboarding tool, with Jitsi, a versatile video conferencing platform, can greatly enhance your virtual interactions. In this guide, we'll walk you through the process of setting up Excalidraw and integrating it with your self-hosted Jitsi instance, enabling you to seamlessly create, share, and collaborate on visual content in real-time.
Step 1: Set Up Excalidraw Backend
Before you can integrate Excalidraw with Jitsi, you need to set up the Excalidraw backend on your server. Follow these steps:
- Clone the Repository: Open your terminal and run the following command to clone the Excalidraw backend repository:
git clone https://github.com/jitsi/excalidraw-backend.git - Install Dependencies: Navigate to the cloned directory and install the necessary dependencies by running:
npm install - Build the Application: Once the dependencies are installed, build the Excalidraw backend by running:
npm run build - Start the Server: Start the Excalidraw backend server using the following command:
npm start
Step 2: Configure Excalidraw with Jitsi
Now that you have the Excalidraw backend up and running, it's time to configure Excalidraw with your Jitsi instance:
- Access Jitsi Configuration Files: Log in to your server where you have Jitsi installed and navigate to the configuration files, typically located in the
/etc/jitsi/meetdirectory. - Edit the Configuration: Open the configuration file for your domain (e.g.,
yourdomain.com-config.js) using a text editor. - Add Excalidraw Configuration: Within the configuration file, locate the section where you can customize features. Add the following lines:
whiteboard:{enabled:true,collabServerBaseUrl:'https://excalidraw-backend.example.com'},Make sure to replace
https://excalidraw-backend.example.comwith the actual URL of your Excalidraw backend server. - Save and Apply Changes: Save the configuration file and restart your Jitsi services for the changes to take effect.
Step 3: Test the Integration
- Start a Jitsi Meeting: Create or join a Jitsi meeting on your self-hosted instance.
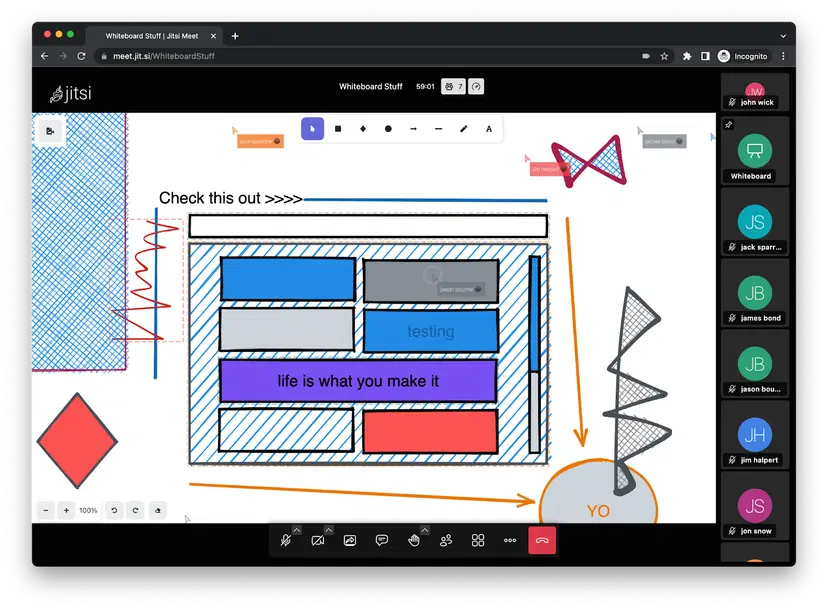
- Access Excalidraw: During the meeting, you'll see a new icon that represents the Excalidraw whiteboard. Click on this icon to open the Excalidraw canvas.
- Collaborate in Real-Time: Use the Excalidraw tools to draw, sketch, and collaborate with other participants in real-time.
- Discuss and Share Ideas: Utilize Jitsi's audio and video features to discuss and share ideas while collaborating on the Excalidraw canvas.
Step 4: Concluding the Session
- Save and Share: Once your collaborative session is complete, consider saving the Excalidraw canvas by bookmarking the URL or using any saving options provided by Excalidraw.
- End the Integration: Stop using the Excalidraw canvas by closing the Excalidraw tab. You can continue your Jitsi meeting without the whiteboard.
Conclusion
Integrating Excalidraw with your self-hosted Jitsi instance offers a seamless way to enhance visual collaboration during online meetings. By following these step-by-step instructions, you can set up Excalidraw backend, configure the integration with Jitsi, and experience the benefits of real-time visual collaboration. This combination of tools empowers you to engage, brainstorm, and create together with participants from anywhere, making your virtual meetings more interactive and productive.